TL;DR:
Lower noise and echo with a simple repair chain. Fix the hum first, reduce the noise gently, tidy up the clicks, then shape the tone. Aim for natural sound, not total silence.
Key takeaways:
- Use a sensible order: high-pass, de-hum, gentle denoise, de-click, light de-reverb, spot fixes, EQ/dynamics, loudness.
- Leave some room tone to avoid metallic artefacts; A/B at matched loudness.
- Short, moderate moves beat one heavy pass.
- Measure output (LUFS, true peak) and listen on headphones and speakers.
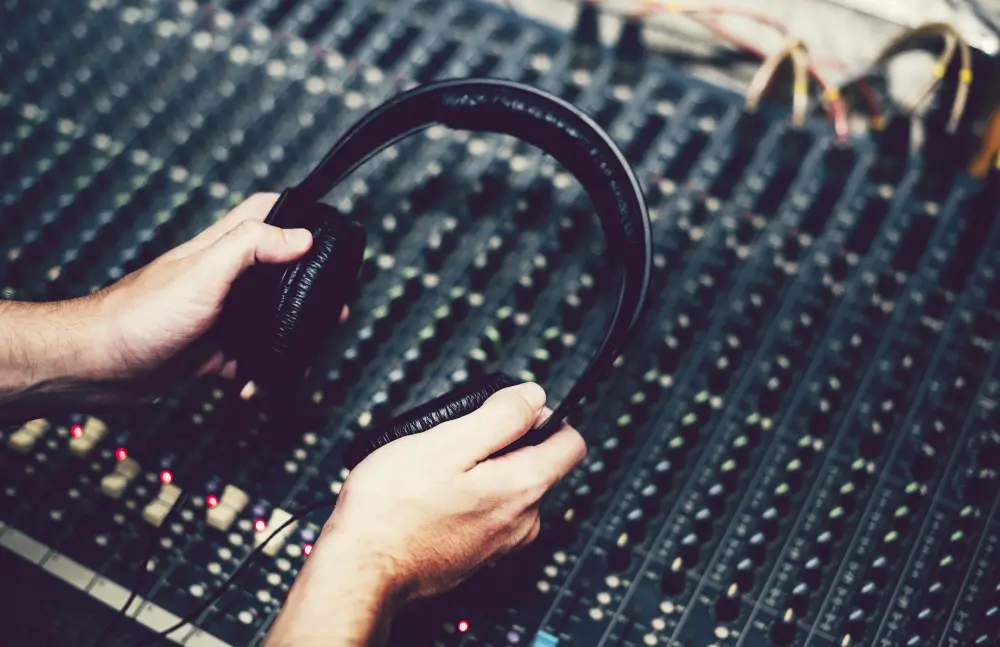
Noisy rooms, cheap mics, busy streets, echoey spaces—real-world recording gets messy fast. The good news is that modern AI audio restoration can transform flawed tracks into clean, usable audio without requiring hours of manual editing. Whether you’re a podcaster, musician, filmmaker, VO artist, or a team handling daily content, the right approach can remove hiss and hum, tame room echo, repair clicks and pops, and lift speech out of a noisy bed—while keeping the voice natural.
This guide walks you through what to fix first, how AI tools work, and a simple order of operations to follow for reliable results. You’ll learn what to do, what to avoid, and when to call in a specialist. Everything here is tool-agnostic, so you can apply it in any DAW with the plugins you have.
What “AI audio restoration” actually fixes
AI-assisted processors use trained models to detect unwanted sounds and separate them from the material you want to keep. The most common modules you’ll see are:
- Voice isolation/dialogue isolate: Lifts speech or vocals above background noise.
- Broadband noise reduction: Reduces steady hiss, fan noise, and mic preamp noise.
- De-hum: Removes mains hum and its harmonics.
- De-reverb: Reduces room echo from reflective spaces.
- Click/pop / clip repair: Fixes mouth clicks, digital overs, and crackles.
- Spectral repair/paint-out: Removes specific intrusions (such as chair squeaks or door slams) through time-frequency editing.
AI can be impressive, but it’s not magic. Push it too hard and you’ll get warbling, lisping, metallic tails, or voices that feel thin. The aim is natural, not sterile.
Good inputs make better outputs (capture matters)
You can save hours of cleanup by controlling the room and mic:
- Mic choice and distance: Use a directional mic close to the source (a hand’s span from the mouth for speech; 15–30 cm for many vocals).
- Aim the nulls: With cardioid mics, point the rear null toward the noise source (computer, AC, street).
- Soft furnishings, such as rugs, curtains, and bookshelves, reduce flutter and slap.
- Gain staging: Aim for peaks around −12 to −6 dBFS on the way in.
- Quiet hours: Record when the space is calm.
Even small changes can reduce the amount of AI you’ll need, keeping the voice more natural.
The reliable workflow (order of operations)
Use this chain as a starting point:
- High-pass filter (gentle)
- Roll off rumble below the voice range (about 60–80 Hz for speech, 80–100 Hz for many vocals).
- De-hum
- Remove mains hum and harmonics first, so noise reduction modules don’t confuse hum with the voice tail.
- Broadband noise reduction
- Use AI noise tools with moderate thresholds. Start gently and A/B often if you hear swirls; back off if you don’t.
- De-click / mouth de-click
- Clicks and mouth noise stand out after you lower the noise floor. Catch them now before compression raises them again.
- De-reverb (light touch)
- Room echo is complex; AI de-reverb helps, but can make the voice sound hollow if overused. Use lower strength and focus on early reflections where possible.
- Spectral spot fixes
- Paint out coughs, door knocks, chair creaks, or passing sirens in a spectrogram view.
- Dynamics and EQ
- After repair, consider the shape, tone, and control range. If you compress, keep ratios modest; heavy compression can reintroduce low-level artefacts.
- Loudness and limiting
- Set output for your platform (for podcasts, a common target is −16 LUFS stereo or −19 LUFS mono; music varies). Keep true peaks under −1 dBTP.
Noise reduction: how far is too far?
The line between “clean” and “processed” is easily crossed. Use these checks:
- Consonant integrity: Listen to “s,” “t,“ and “f.“ If they smear or lisp, you’ve gone too hard.
- Room tone continuity: Between phrases, does the background sound natural, or does it feel artificial?
- A/B at matched loudness: Louder sounds “better.“ Level-match when comparing.
- Headphone and speaker check: Artefacts appear on one and disappear on the other.
It’s fine to leave some noise. Humans tend to ignore steady, low-level noise more easily than metallic artefacts.
De-reverb without hollow voices
Helpful in echoey bedrooms and meeting rooms, but can be easily overdone. Safer tactics:
- Trim brightness: A soft high-shelf dip can reduce glare without heavy processing.
- Target early reflections: Start there if your tool separates early reflections from the tail.
- Layer small fixes: Two light passes are often cleaner than one aggressive pass.
- Use EQ subtraction: A small dip around 200–400 Hz reduces boxiness, while a dip around 2–4 kHz can tame the brittle room zing.
Clicks, clips, and crackles: quick rescues
- Mouth clicks: Run a mouth de-click with sensitivity just high enough to catch the clicks. Too much will dull transient detail.
- Digital clipping: Clip repair can rebuild flattened peaks—best when clipping is light and intermittent.
- Interference bursts: In spectral repair, lasso the intruder and attenuate rather than erase for a natural result.
Voice isolation vs. music bleed
AI voice isolate can pull dialogue out of crowd noise or music, but it can leave watery artefacts. To minimise:
- Stay moderate: Use just enough separation to improve intelligibility.
- Re-blend ambience: Add a touch of consistent room tone so edits don’t feel “vacuumed.”
- Focus bands: If available, concentrate isolation on 150 Hz–6 kHz and leave the extremes alone.
Measuring success (not just “it sounds cleaner”)
- Loudness (LUFS): Match platform targets and compare the before-and-after results fairly.
- True peak (dBTP): Keep under −1 dBTP for streaming safety.
- Noise floor (dBFS): Rough check of background level in pauses.
- Dynamic range: Over-compressed repair can feel fatiguing, even if the audio is clean and clear.
You don’t need to chase numbers, but basic metering keeps decisions honest.
Common pitfalls (and easy fixes)
- Over-denoising → metallic voice: Back off threshold, lengthen release, or use two light passes.
- Chasing zero noise: Leave a natural floor; fill gaps with steady room tone under edits.
- Apply heavy de-reverb first, after noise and clicks, and use it lightly.
- EQ before repair: Cutting lows/highs first can confuse noise learning; repair first, then shape tone.
- Mono/stereo confusion: For dialogue, maintain consistent channel format; collapsing stereo ambience to mono can cause comb filtering.
Fast templates for common scenarios
1) Bedroom podcast
High-pass at 70–80 Hz → de-hum if needed → light broadband denoise (reduce by a few dB) → mouth de-click → light de-reverb → gentle EQ (cut mud around 200–300 Hz, small high-shelf) → light compression (about 2:1) → limiter to −1 dBTP → set loudness near −19 LUFS mono.
2) Outdoor street interview
High-pass at 80–100 Hz → voice isolate (moderate) → broadband denoise (focus on steady hiss) → spectral spot fixes for honks/sirens → soft EQ to push 1–3 kHz for intelligibility → limiter. Re-blend a steady ambience bed around −30 to −40 dBFS.
3) Music rehearsal with AC hum
De-hum first → broadband denoise in two light passes → click/clip repair → minimal de-reverb → EQ for balance → bus compression (gentle) → limiter. Keep expectations realistic; heavy air conditioning plus a living room will leave some texture.
Choosing AI tools (what really matters)
Look for:
- Audition speed: Real-time preview and quick A/B.
- Artefact control: Threshold, reduction amount, release time (or “strength“ and “preserve transients”).
- Module order and recall: Save chains, compare versions, and revert easily.
- Batch options: Handy for podcast series.
- Learning curve: You’ll get further with a tool you understand.
When to DIY and when to call a specialist
DIY if:
- Noise is steady and moderate.
- Room echo is mild.
- Clicks are occasional.
- You have time to test and conduct A/B testing.
Call a specialist if:
- The voice is buried in music/crowd noise and must be broadcast-ready.
- Rooms are very lively, and the tone turns hollow after basic fixes.
- There’s heavy clipping across long takes.
- You need a fast turnaround for a high-stakes release.
A specialist can perform surgical spectral edits, match loudness specifications, and maintain tone integrity under tight deadlines.
Simple checklist before you export
- Voice sounds natural; consonants are crisp, not smeared.
- Noise is lower but not “underwater.”
- No breath or word starts are chopped.
- Loudness matches your platform target.
- Peaks stay under −1 dBTP.
- You’ve listened to music on headphones and speakers.
If any step fails, back up one module and proceed more gently.
FAQs
Does AI restoration work on phone recordings?
Yes—often surprisingly well. Expect better results if the phone was close to the mouth and the room wasn’t too echoey.
Can I fix heavy wind noise?
Partly. Severe wind across the mic overwhelms the capsule. High-pass plus targeted repair can help, but prevention beats repair.
Is de-reverb always safe?
No. It can hollow out voices. Use light settings and stop once intelligibility improves.
What loudness should I use for podcasts?
A common target is −16 LUFS stereo or −19 LUFS mono, with peaks under −1 dBTP. Check your platform’s current guidance.
Ready for cleaner audio? Subscribe for tips and tools.
If your sessions need a lift—less noise, less echo, clearer voices—we share practical guides and tool walk-throughs to make your next upload sound better with less guesswork.
Subscribe here: https://argine.net/
You’ll receive concise, actionable updates that you can apply immediately.